
PiktoAI Video Timeline Editor Overview
PiktoAI Video Timeline Editor lets you create video clips from a text prompt or start with a ready-made video template. You can then customize every detail — from footage, images, text, shapes, captions, music, and animations — all in one timeline.
IN THIS ARTICLE
📌 Note: Piktochart AI Video Editor vs. Piktochart Video
- Piktochart AI Video Editor and Piktochart Video are two separate products and are not connected to each other.
- Piktochart Video is a standalone tool designed to help you transcribe, repurpose, and transform long-form videos into multiple formats, such as short clips, social media posts, blog articles, and more, making it easy to maximize the reach of your existing video content.
- Piktochart AI Video Timeline Editor is a visual editing tool for creating and editing video projects using templates, clips, text, graphics, and AI-powered features.
- Features, assets, and projects from one product cannot be accessed, linked, or transferred to the other. Please make sure you are in the correct product for your intended task.
Generate Your Video
Start here, let AI do the heavy lifting so you have something great to work with right away.
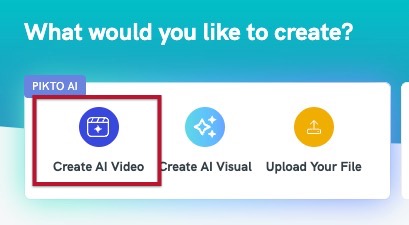
- Open the AI Video Generator by clicking on the Create AI Video tab from your dashboard.
- Enter a prompt or topic for your video.
- Select the AI Model from the dropdown and output size.
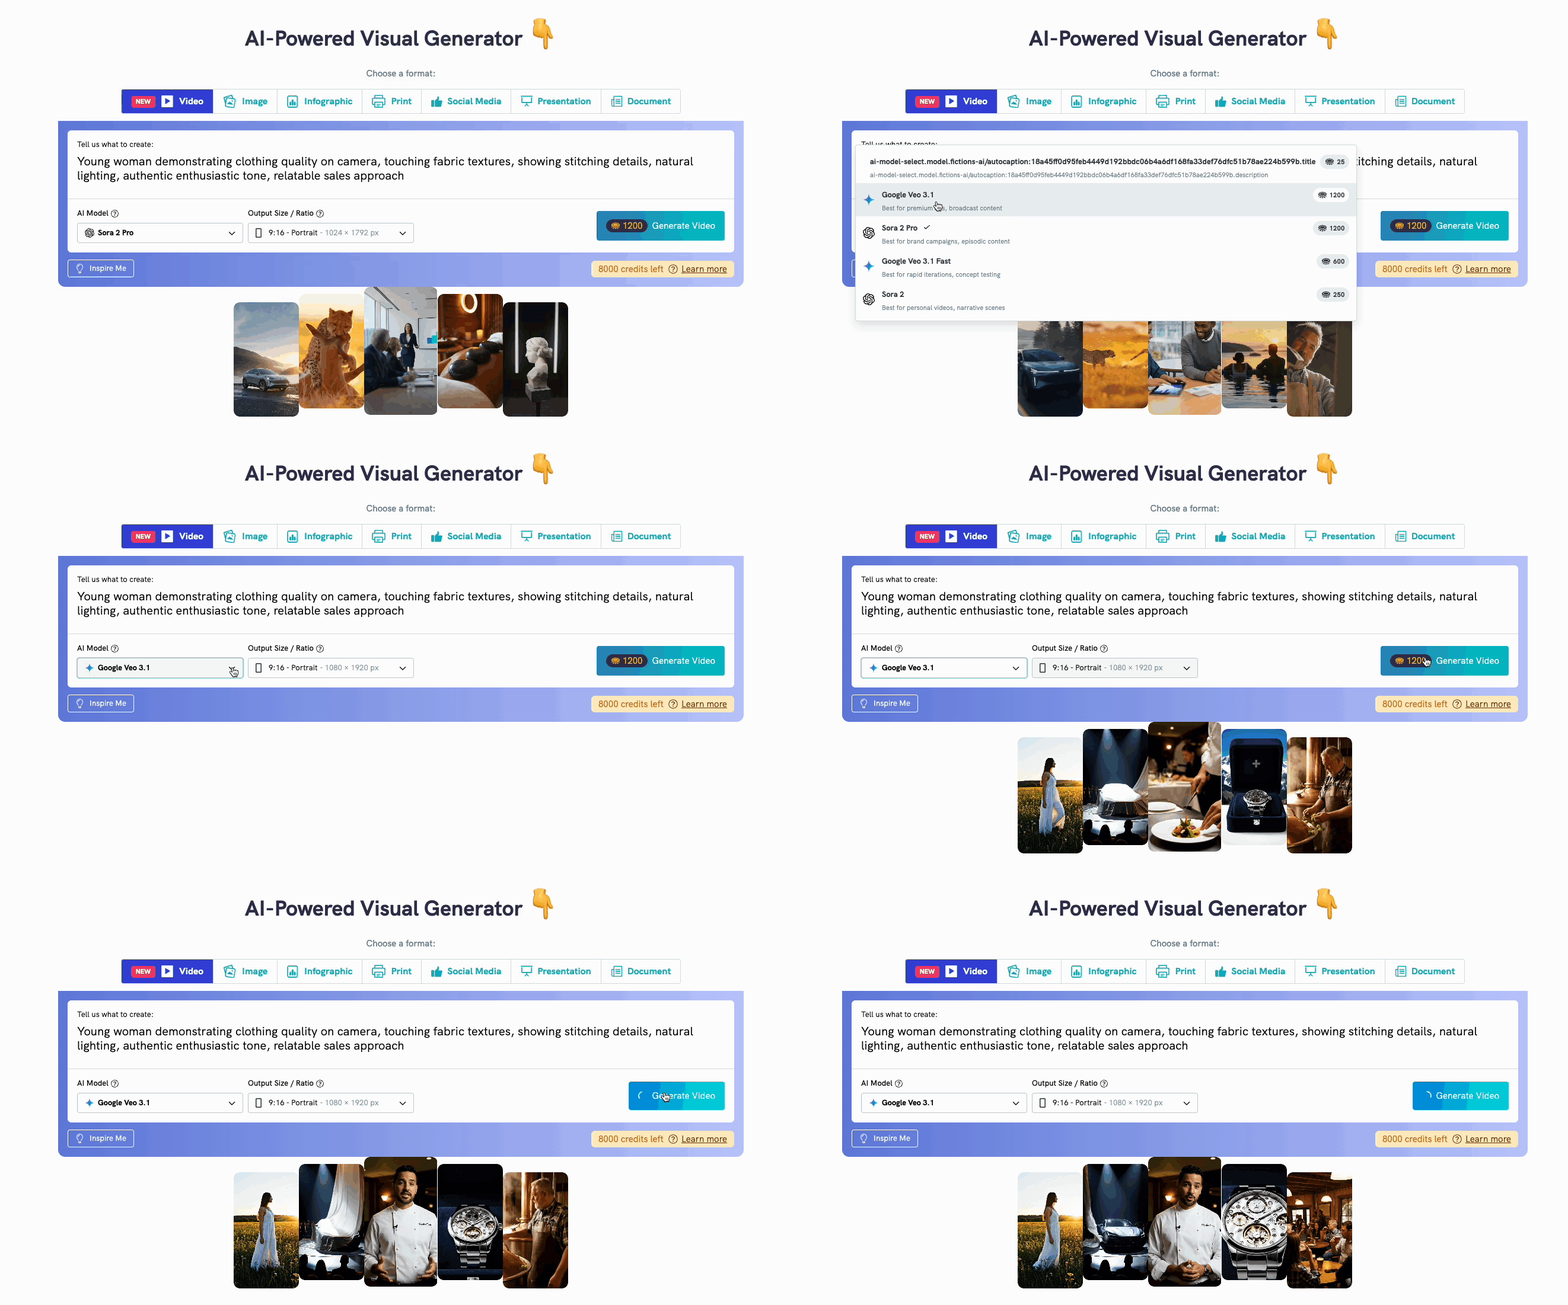
- Click the Generate Video button
- Wait while the video generates — a progress bar shows the percentage complete and an estimated time remaining.
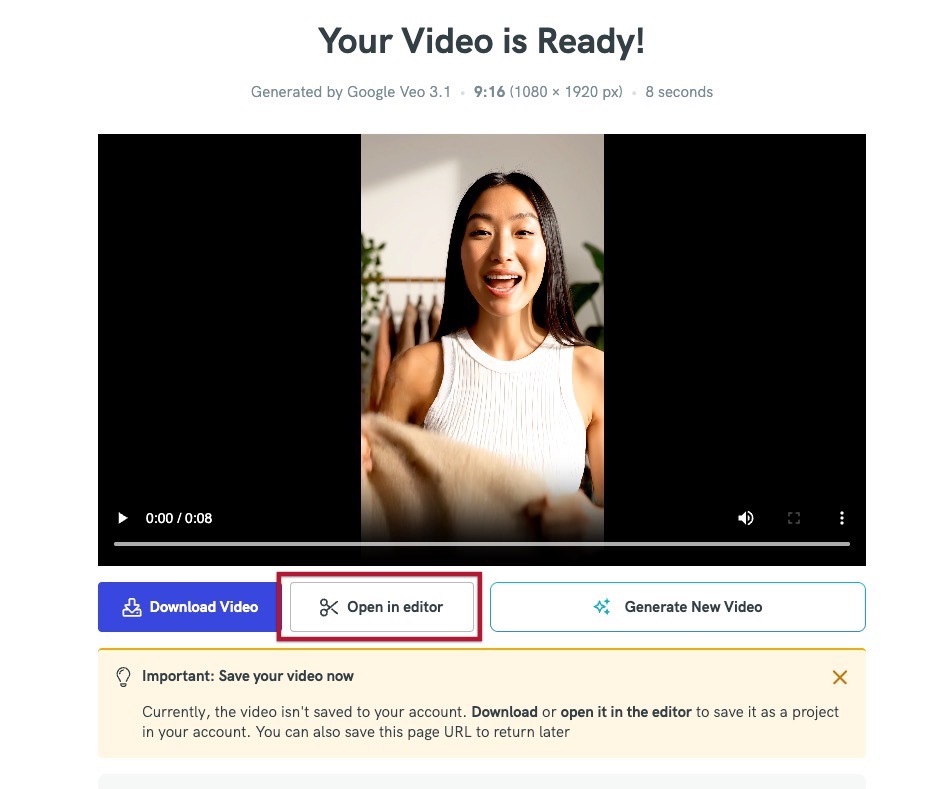
- Once generation finishes, click Open in Editor to further edit the video in the AI Video Editor.
Customize with the AI Video Editor
Once your video is open in the editor, you can customize it in the following ways:
- Transition - Add transitions, and edit and cut videos.
- Music - Add background music to set the tone and keep your audience engaged.
- Shapes - Drop in shapes and graphic elements to highlight key points or add visual structure.
- Colors - Adjust colors across your video to match your brand or style.
- Positioning - Click and drag any element to reposition it exactly where you want it on screen.
Build Your Story with the Timeline
Arrange your clips in any order to create a smooth, seamless video that flows from start to finish.
- Locate the Timeline at the bottom of the editor.
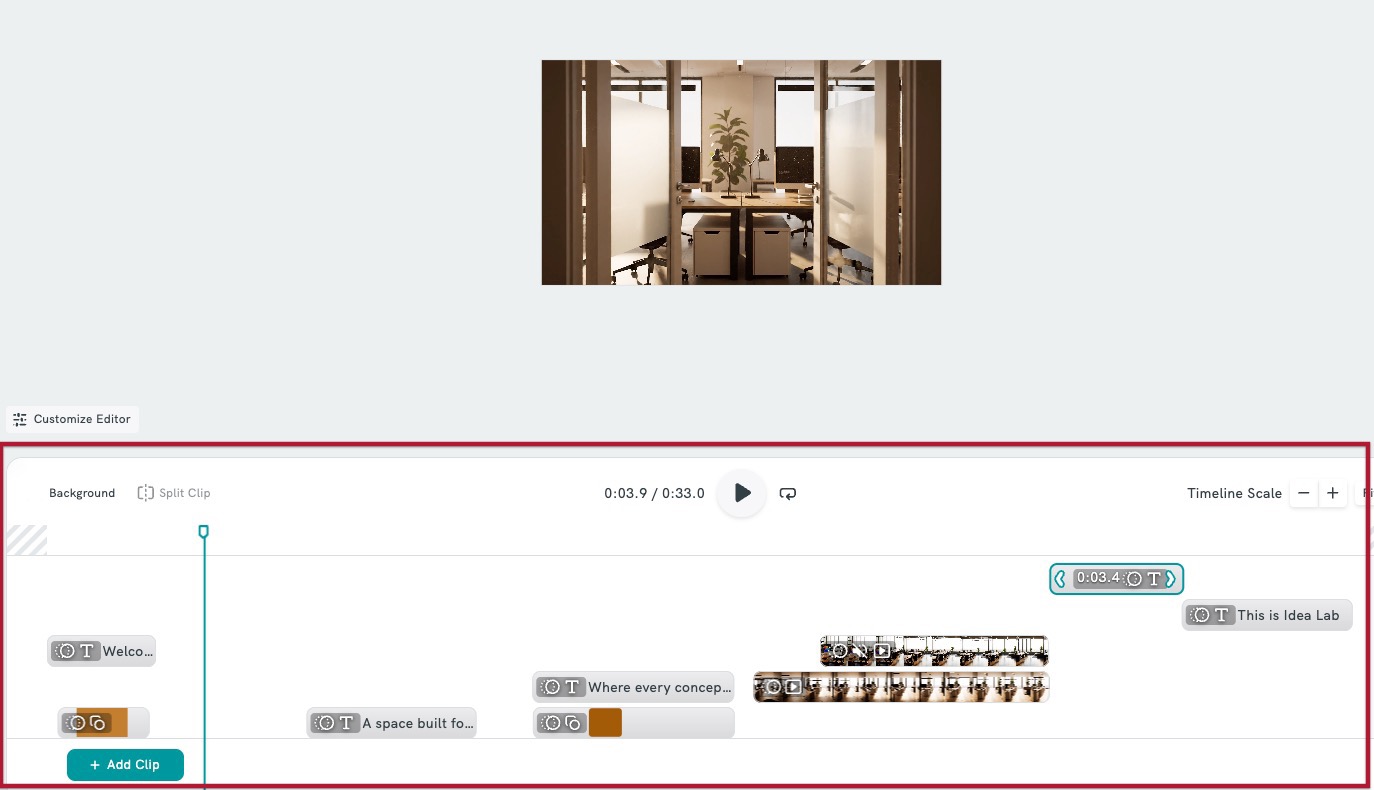
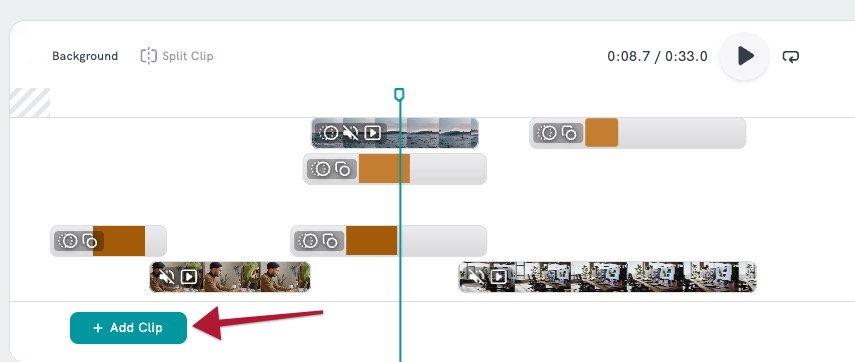
- Click + Add Clip to insert a new video clip from your uploaded videos library.
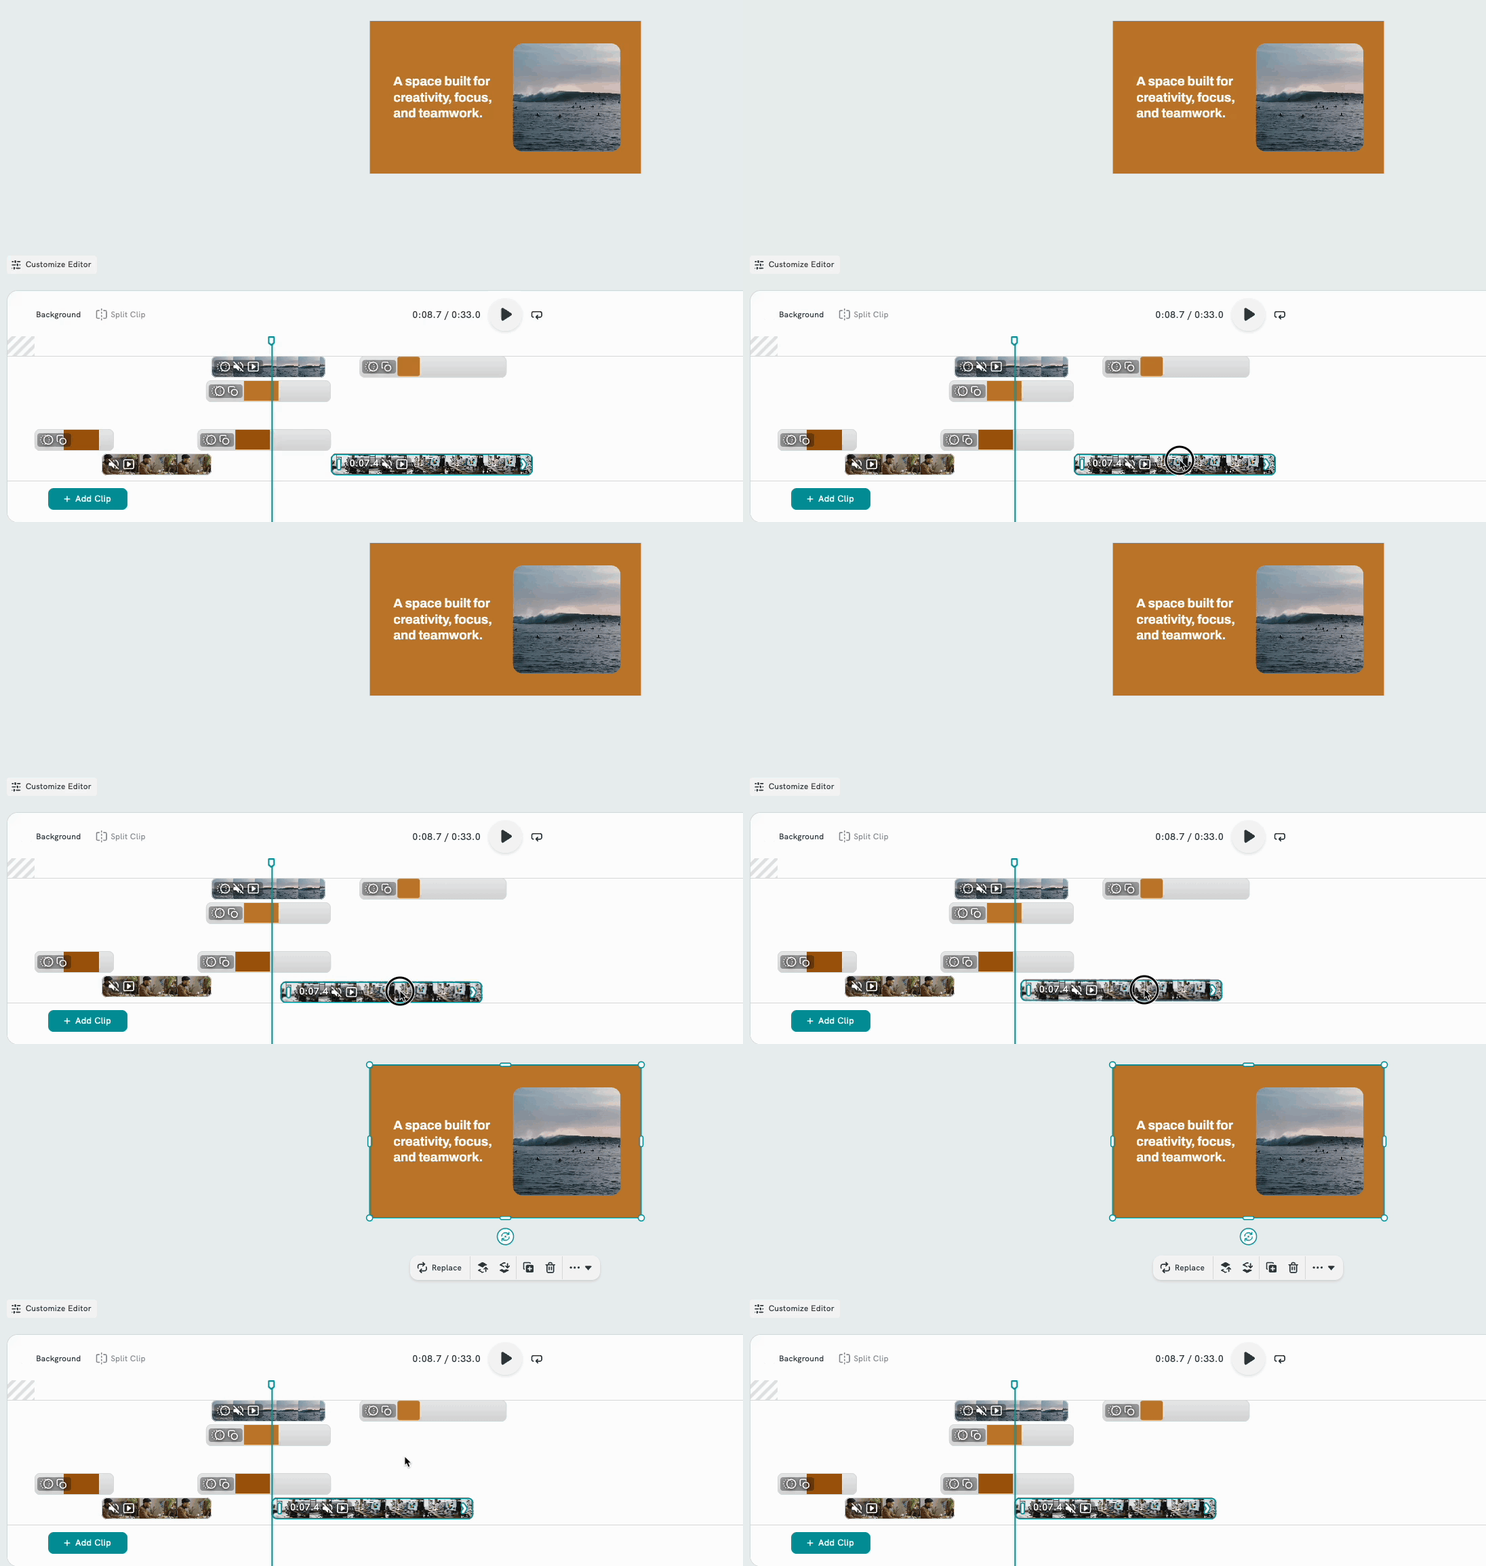
- Drag clips left or right to reorder them.
- Preview your video to check that transitions flow naturally between clips.
Tip: Keep an eye on how one clip ends and the next begins. A smooth handoff between clips is what makes a video feel polished rather than choppy.
Use a Video Template
If you'd rather start from a pre-built design than generate footage from scratch, use a template. Skip the blank canvas, start with a professionally designed template and make it your own.
- Click Templates tab in the left-hand panel.
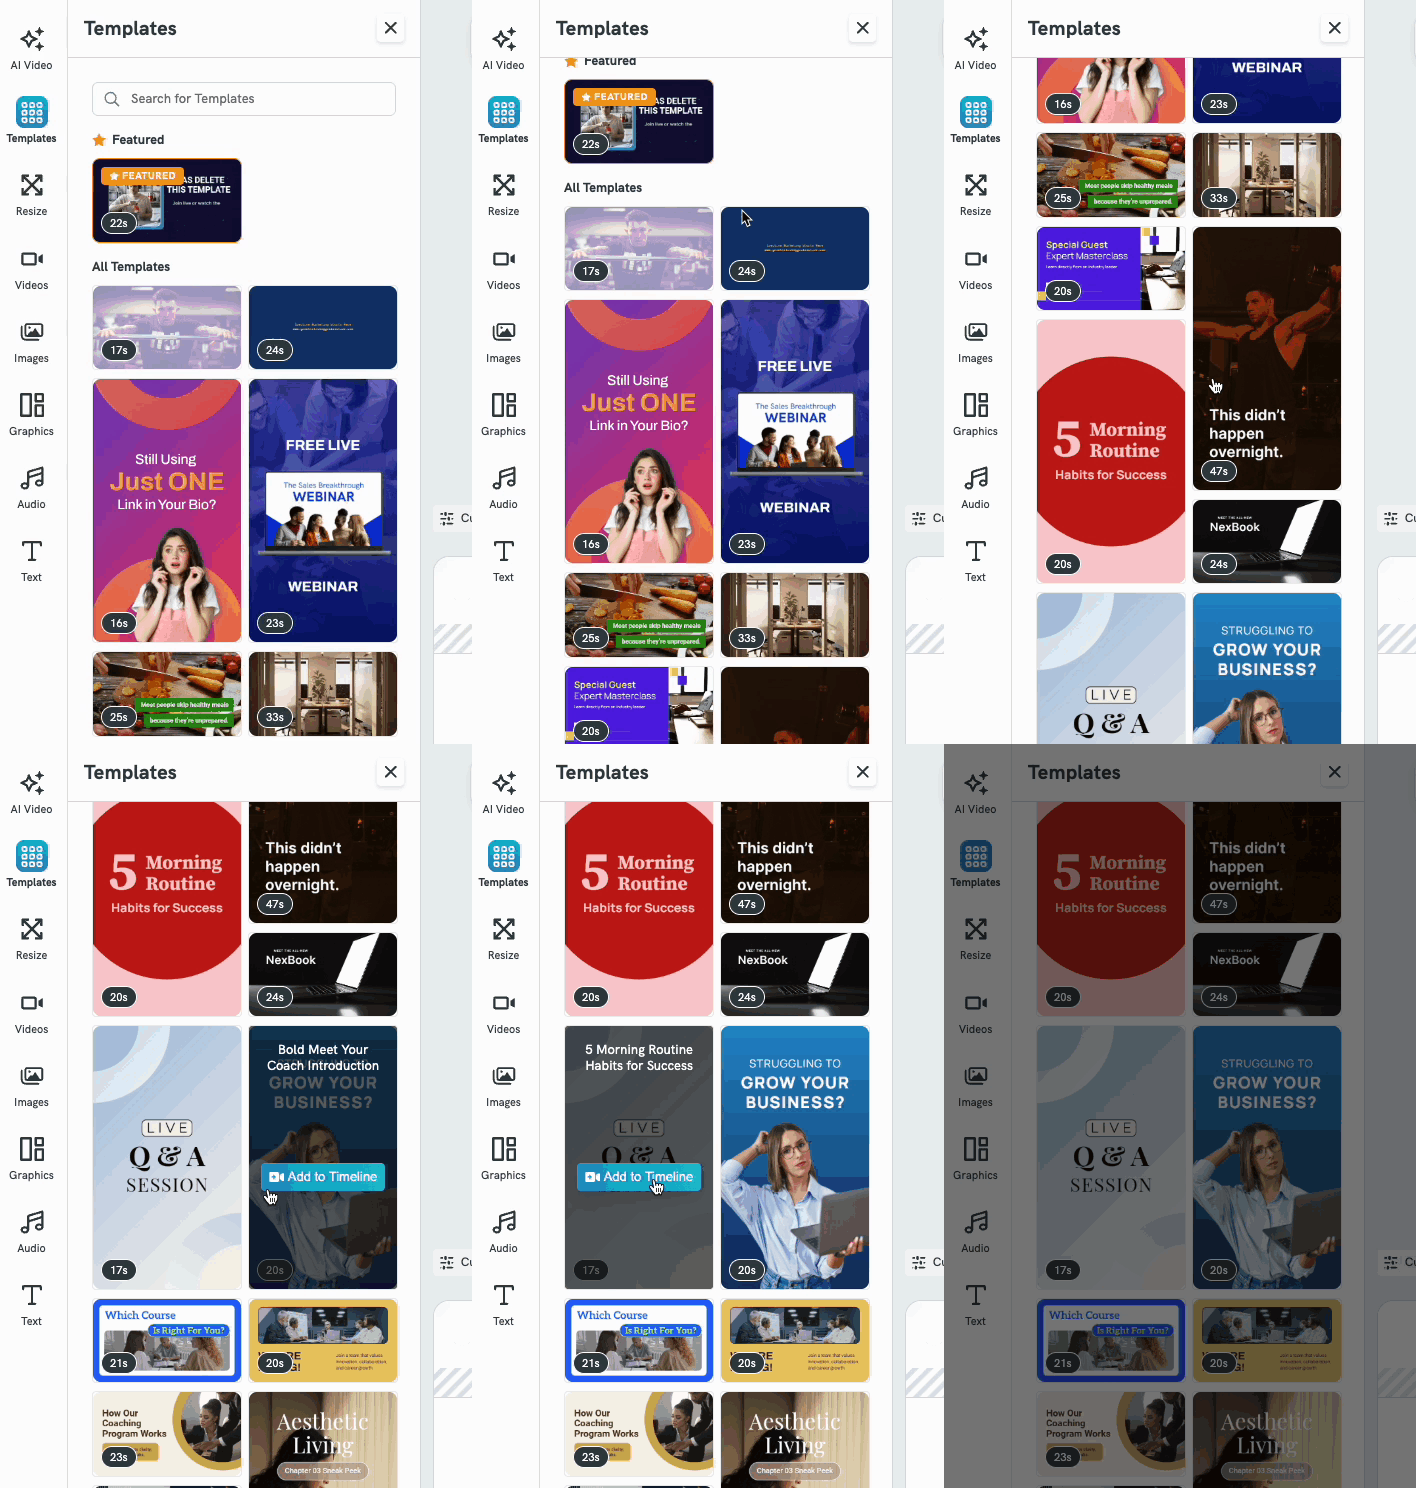
- Browse and select a video template that fits your requirement.
- To swap out the template's placeholder media, click the image or video clip on the canvas. A floating toolbar appears with:
- Replace — swap in your own file or a stock clip
- Placeholder — mark the element as a placeholder for later
- Duplicate, delete, and more options icons
- Clicking Replace opens a panel where you can:
- Upload your own file under Video Uploads / Add File
- Choose from the built-in stock Videos library
Rearrange and resize clips
- Click and drag any layer/clip left or right along the timeline to change when it appears.
- Drop a clip onto another row to merge or reorder layers.
- To change how long a clip or element is shown, click it to select it, then drag the small handle at its left or right edge to shorten or extend its duration.
- Use Split Clip (top of the timeline) to cut a selected clip at the playhead position.
- Use the Timeline Scale controls (bottom-right of the timeline) or Fit View to zoom the timeline in or out.
Previewing and Exporting Your Video
- Click Preview (top-right of the editor) at any time to watch your video play back in full.
- Use the playback controls under the canvas (play/pause, loop, and the timestamp counter) to scrub through and check timing.
- Your project auto-saves — the header shows Saving... or Saved so you always know your current status.
- Once you're happy with the results, click Download Video to download the file to your computer or Export to Asset Library to save it for reuse elsewhere in Piktochart.
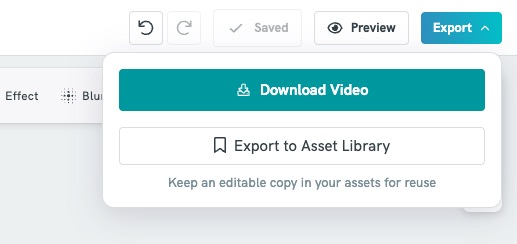
- Your video file will be downloaded in .mp4 format.
Common Questions
Do I need to use the AI Video Generator first?
No, you can bring your own clips directly into the editor. The AI Video Generator is there if you want a head start.
Can I rearrange clips after adding them?
Yes. Simply drag and drop clips in the Timeline to reorder them at any time.
What happens if my video looks choppy between clips?
Check the order of your clips in the Timeline and make sure they flow logically from one to the next. Reordering or trimming clips usually smooths this out.
Can I use my own music?
Yes. You can upload your own audio track or choose from the available music options inside the editor.