Understanding the Timeline: Layers, Clips, and Playhead in PiktoAI Video Editor
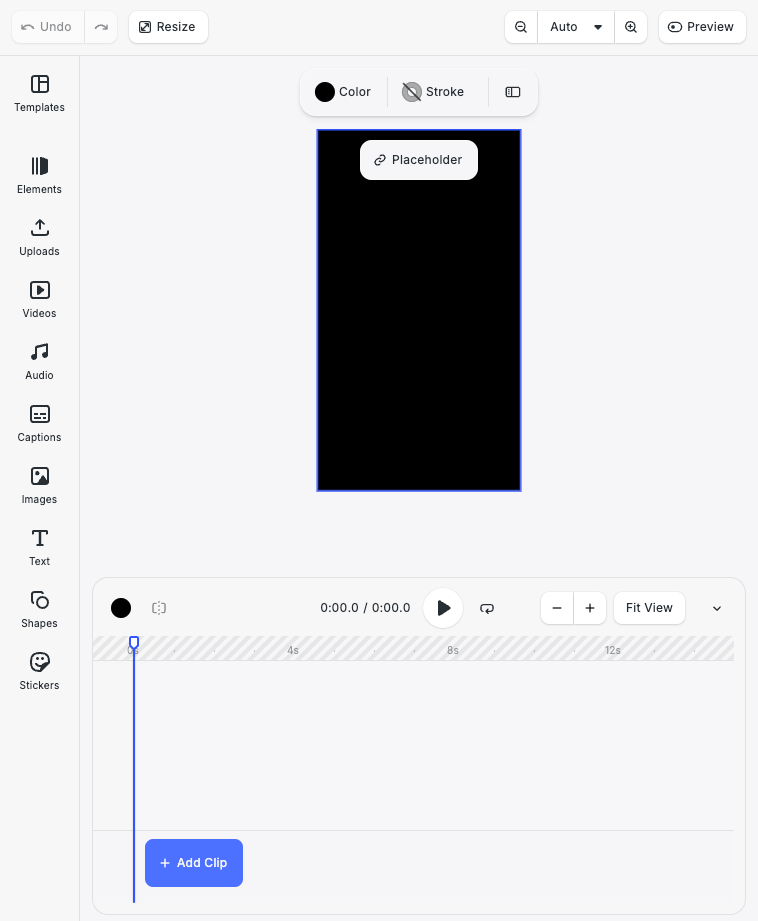
What you can do with the timeline
- Arrange clips along a time axis.
- Control when each element appears and disappears.
- Trim clips to change their duration.
- Layer video, text, graphics, images, and audio.
- Navigate through your video using the playhead.
- Preview your edits before exporting.
Open or close the timeline
To open the timeline
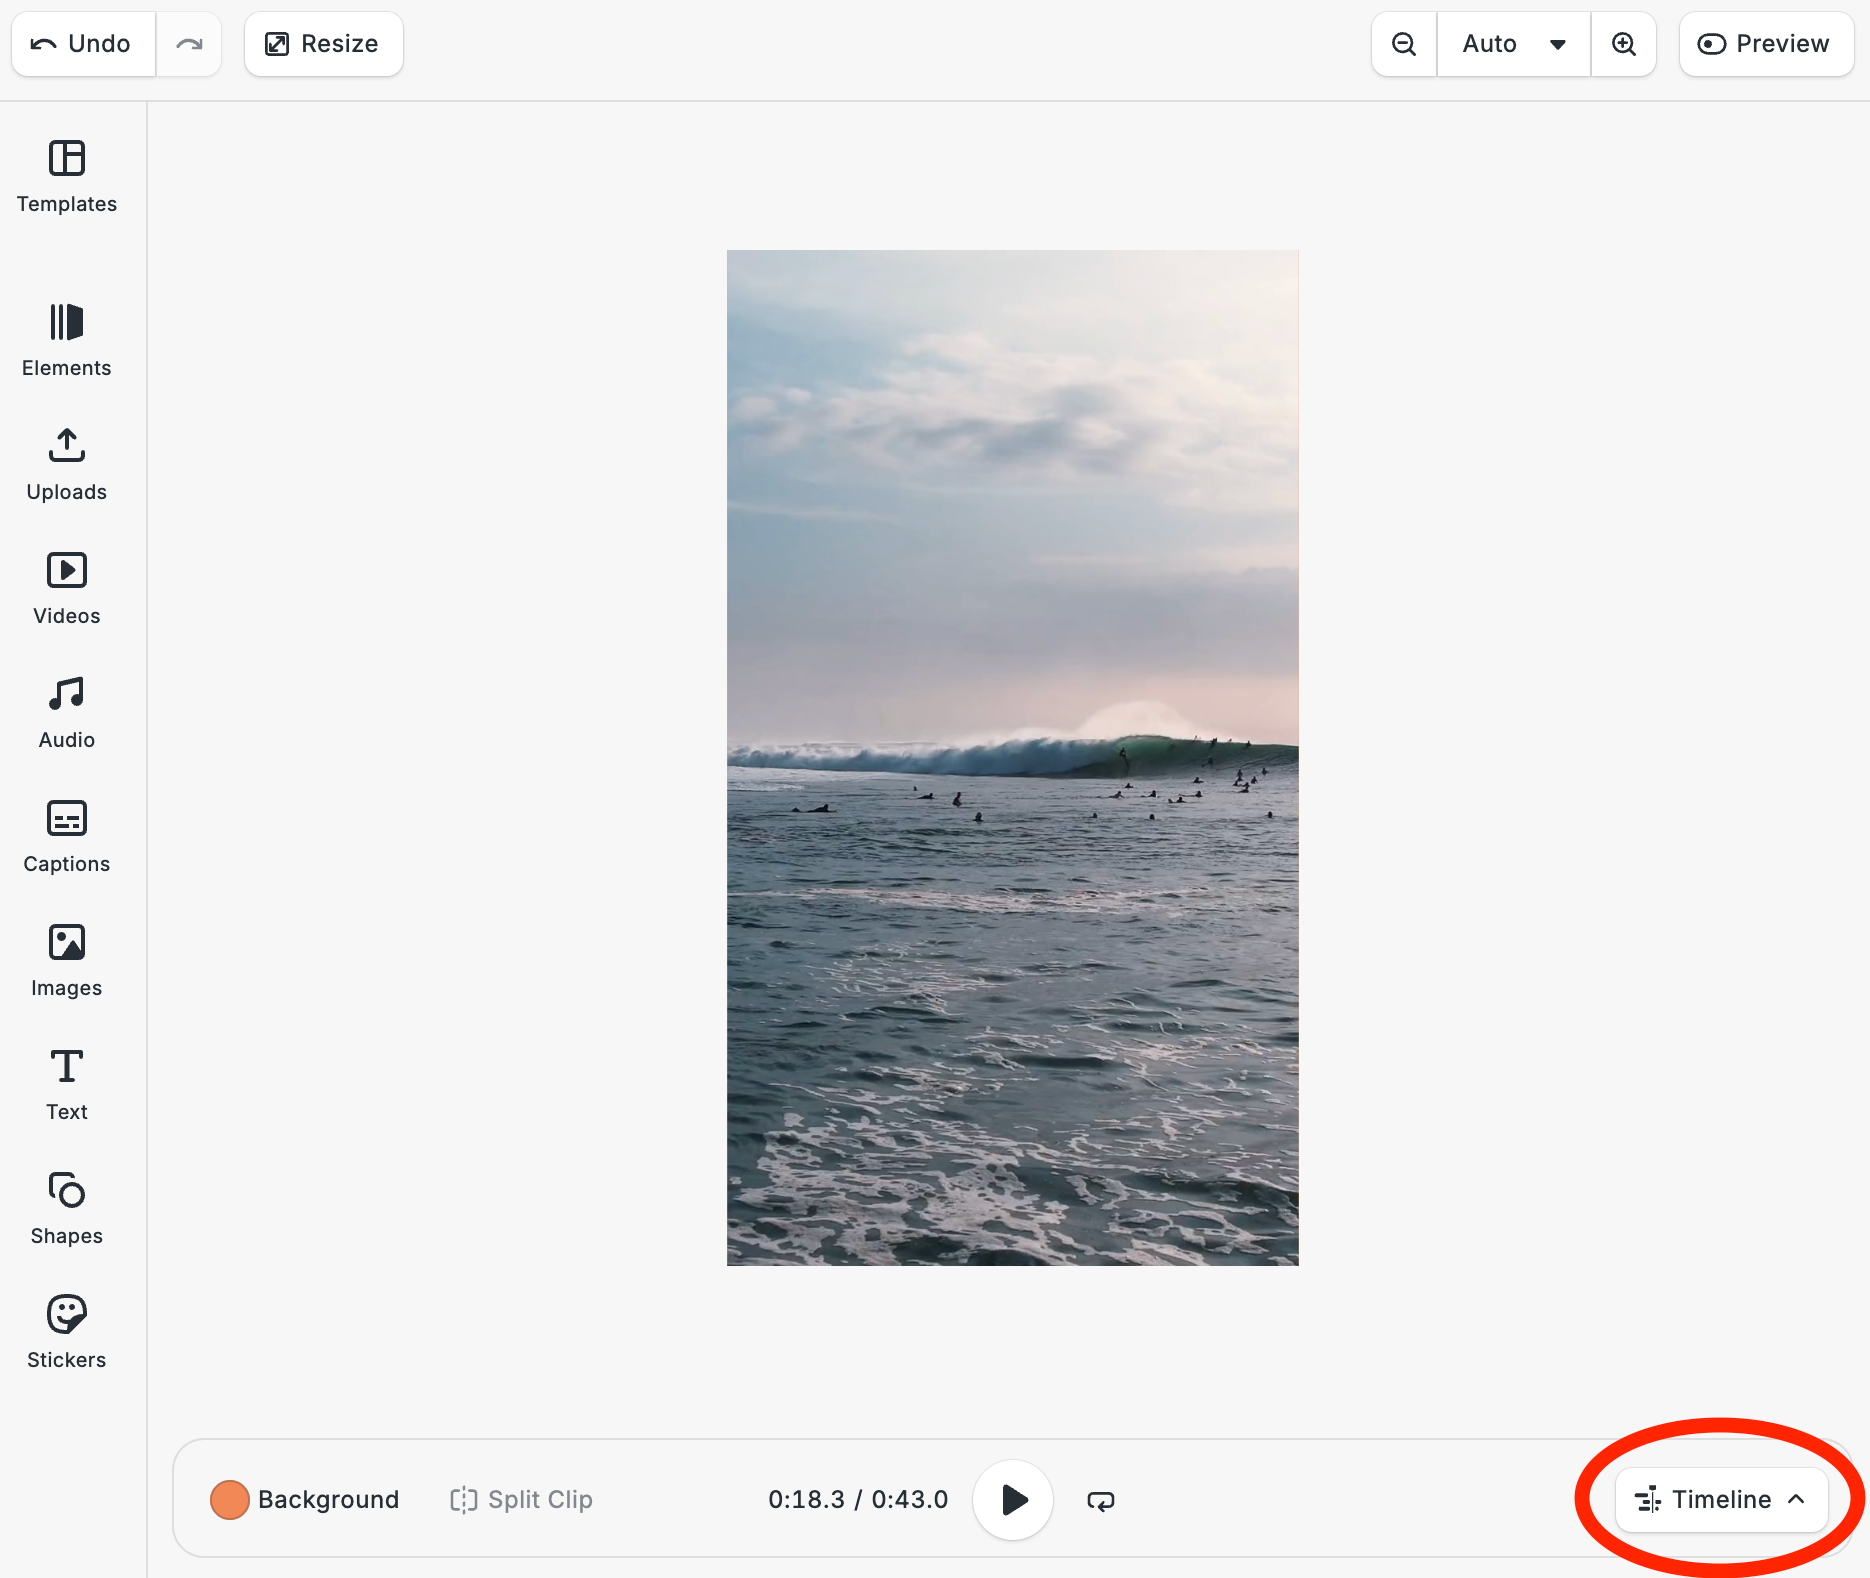
- Open your video project in the Pikto AI Video Editor.
- Select the Timeline toggle.
- The timeline editing area opens below the video canvas.
To close the timeline
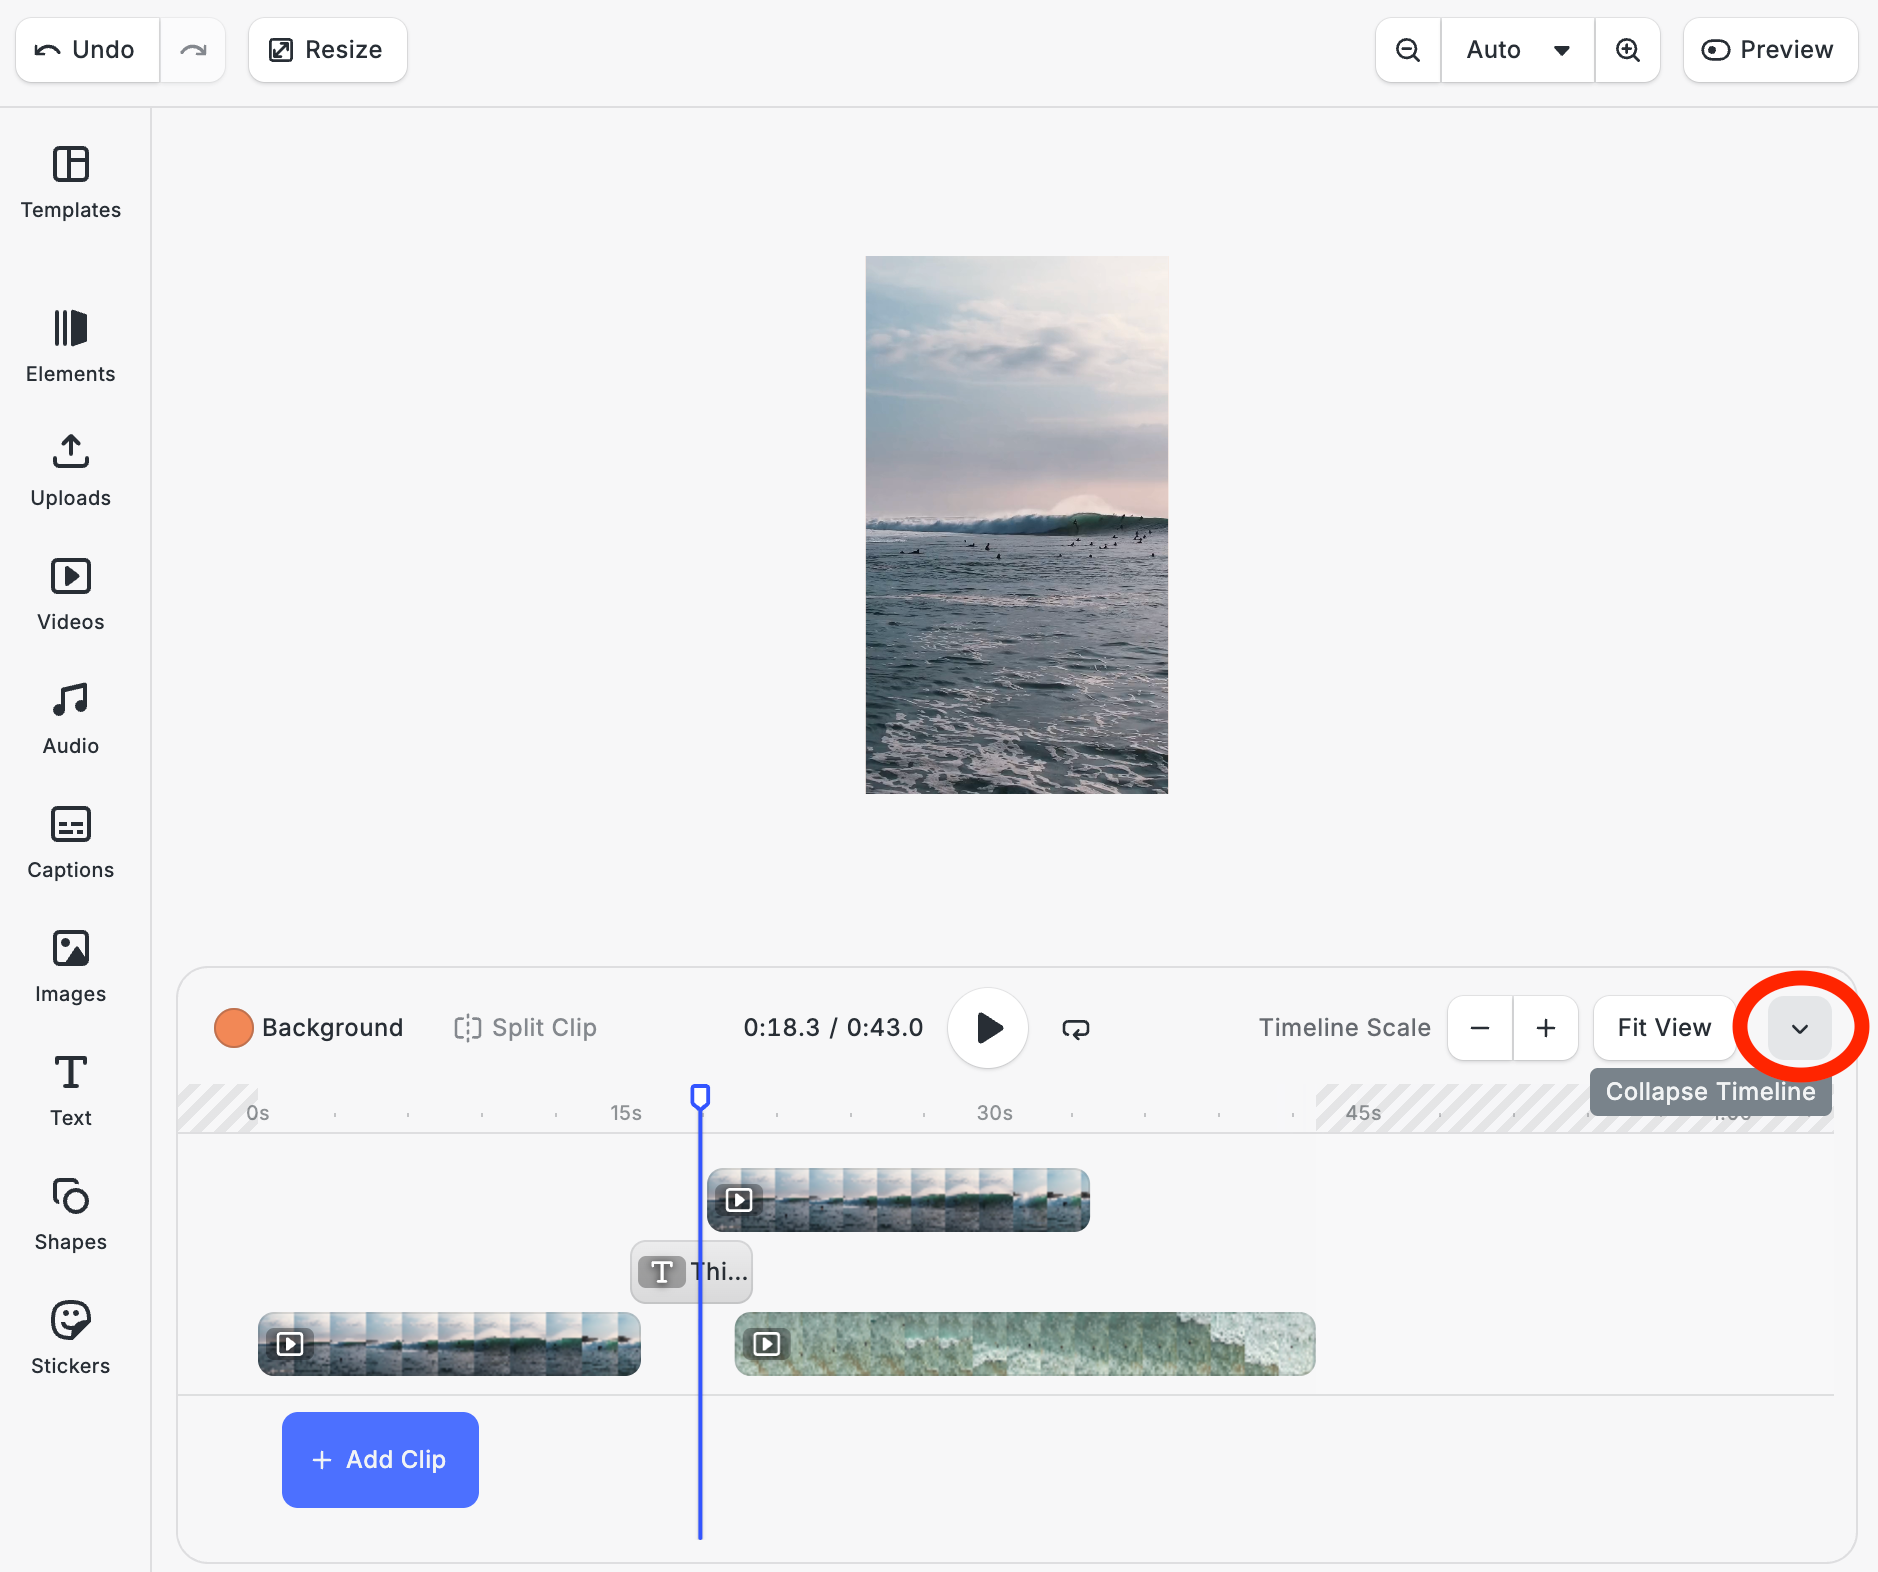
Timeline structure
- Scene, the root block for the video.
- Pages, which represent video segments.
- Tracks, which act as parallel layers.
- Clips, which appear as graphic blocks on each track.
| Scene | The scene is the main container for your video project. It includes all pages, tracks, clips, and other content used in the video. |
| Pages | Pages represent separate segments of your video. Each page can contain its own video clips, text, graphics, images, and audio. |
| Tracks | Tracks are parallel layers that organize the content in your scene. Each track contains clips that appear along the timeline. |
| Clips | Clips are the individual blocks placed on a track. A clip can represent a video, text element, graphic, image, or audio item. |
Track types
- Clip tracks (for video content)
- Overlay track (for text and graphics over the video)
- Audio tracks
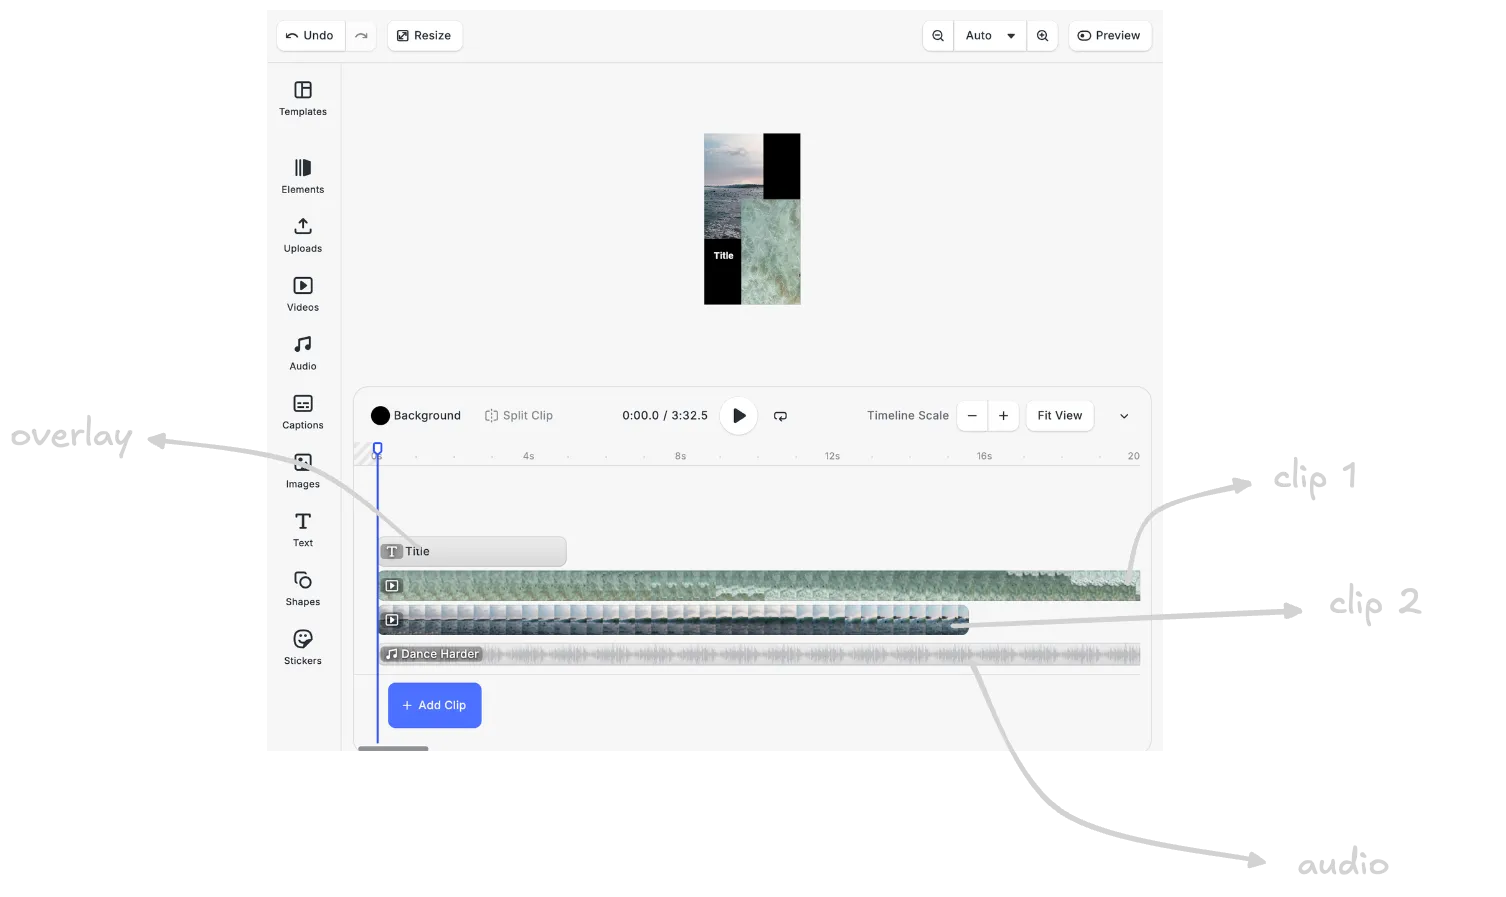
The order in which track appears determines its position in the scene:
- Moving a track to the top brings it to the front of the scene.
- Moving a track to the bottom of the timeline sends the content the back of the scene.
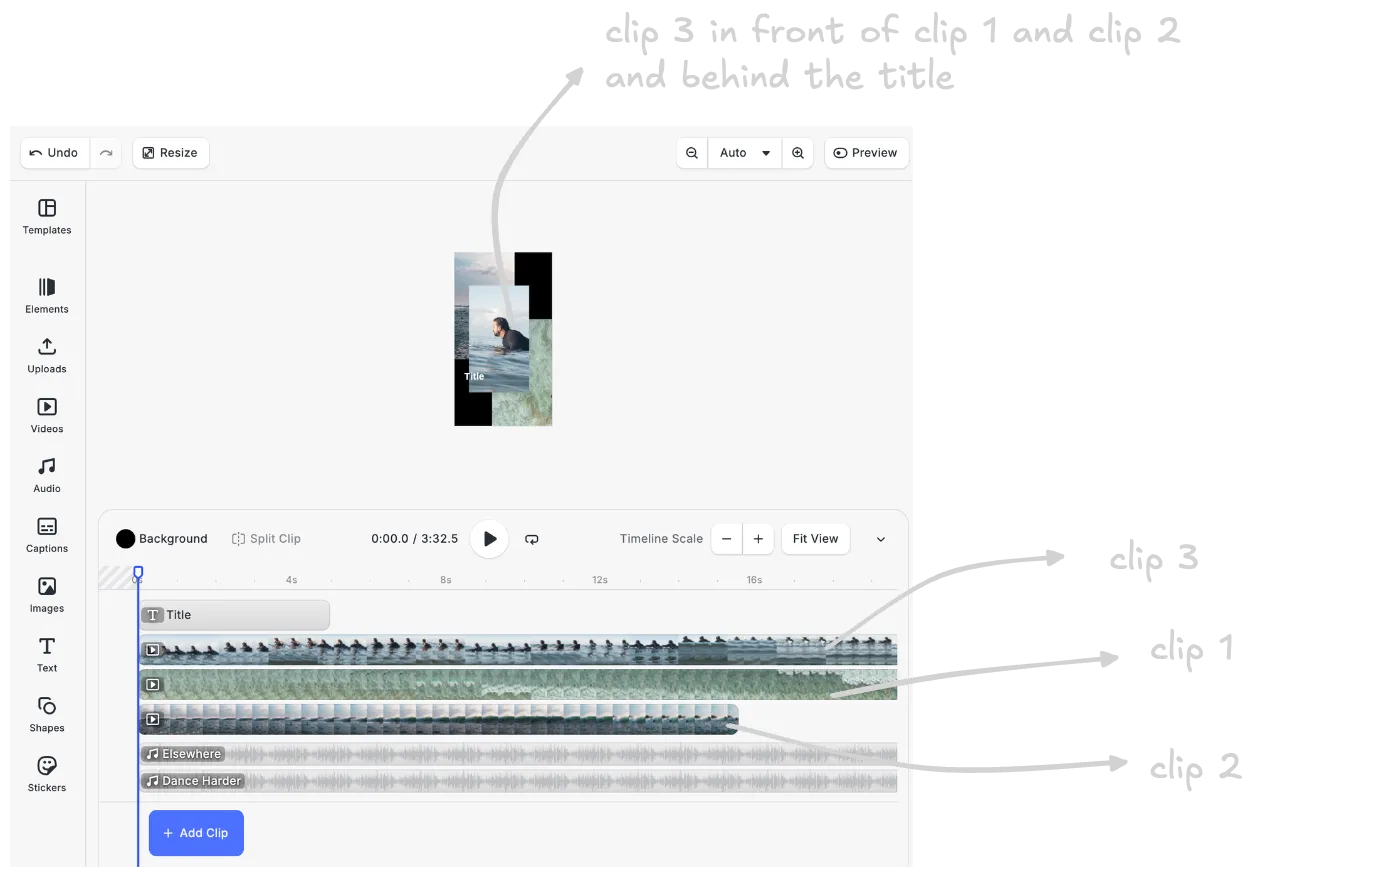
Control the Content Position
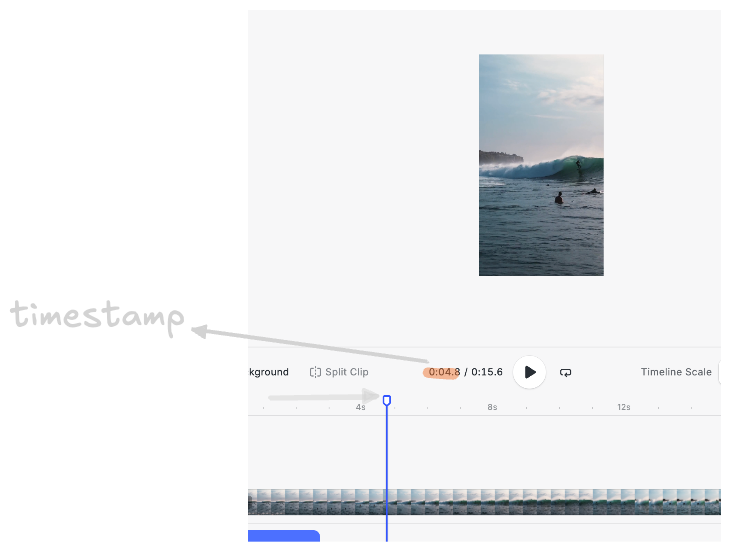
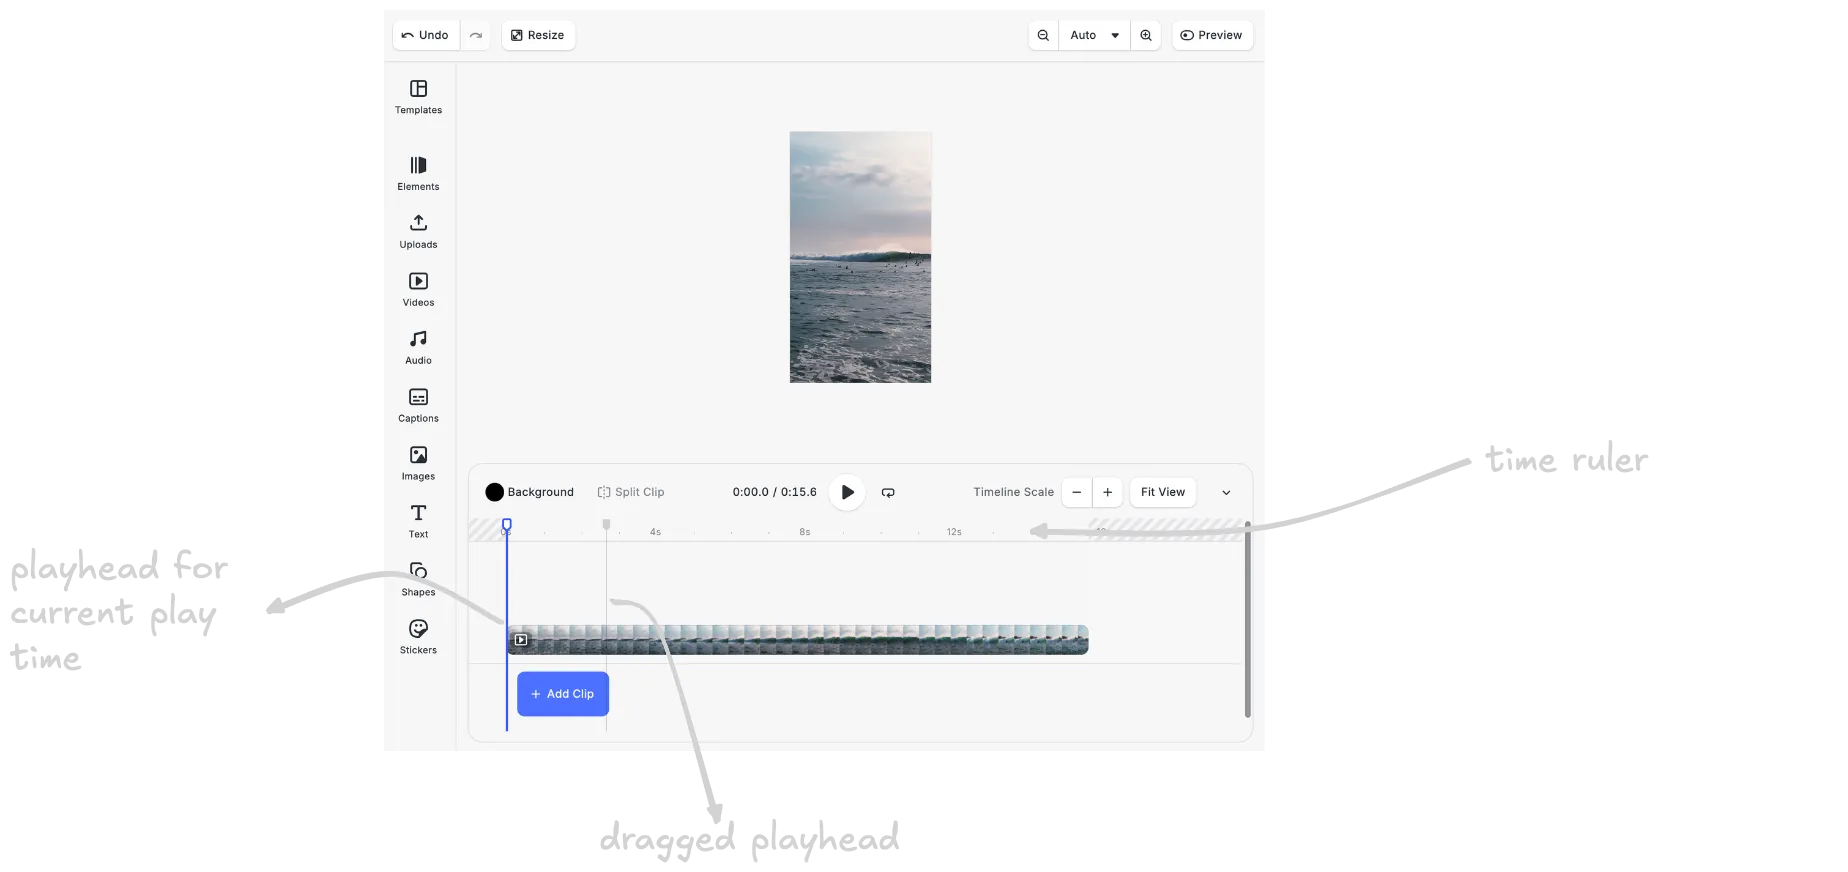
The playhead is the vertical line that shows your current position in the video. You can adjust the position of the content using the vertical playhead line, which indicates the current playhead time. The playhead moves along the timeline, displaying the time code.
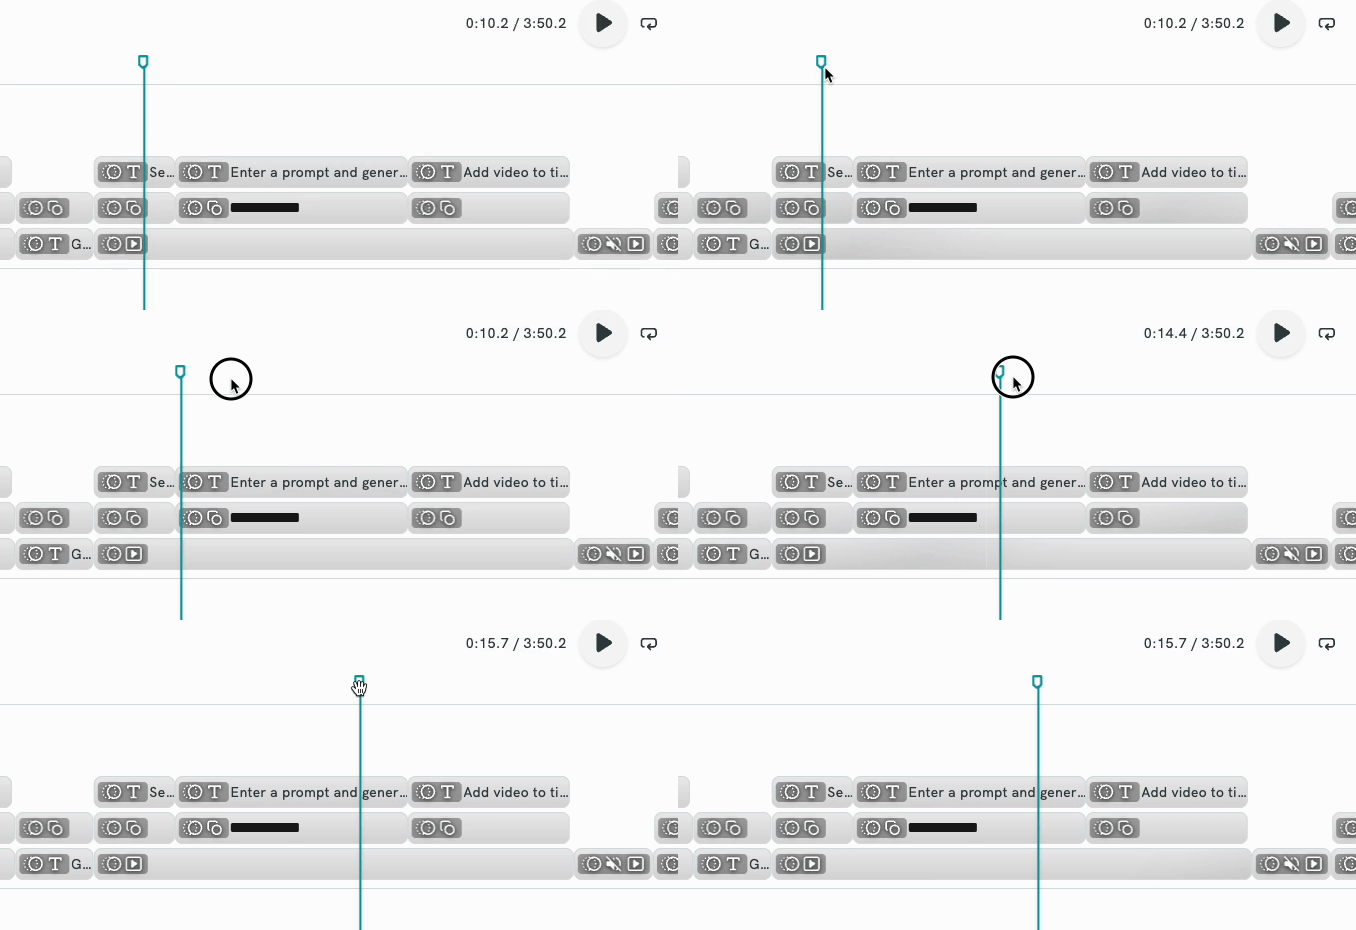
Change the playhead position (when the clip starts playing) by either:
- Clicking on any area in the time ruler.
- Dragging the playhead with your cursor.
Scroll and Zoom on the Timeline
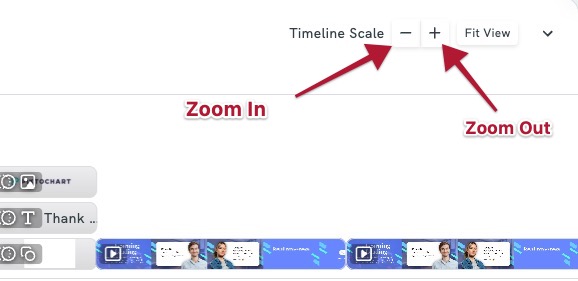
Adjust the time scale to increase the level of details per frame:
- Click anywhere in the timeline area.
- Zoom into the timeline using:
- Keyboard shortcuts
- A mouse
- A trackpad
When zoomed in, the clip stretches visually—each pixel now represents fewer milliseconds—so you can fine-tune edits frame by frame.
Control How the Clips Play
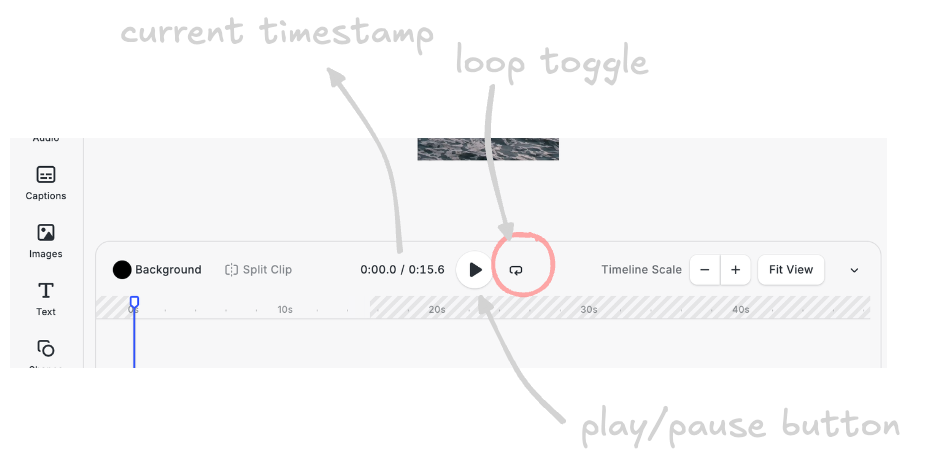
The playback bar contains:
- The play/pause button that plays the clip from the current playhead position.
- A loop toggle that repeats the video when activated.
- The current timestamp
The scene plays while synchronizing:
- All videos
- Overlays
- Audio
Preview Frames
Drag and drop (scrub) the playhead back and forth to preview frames without playing the clip in real time. This allows you to quickly find the exact moment you want to edit.
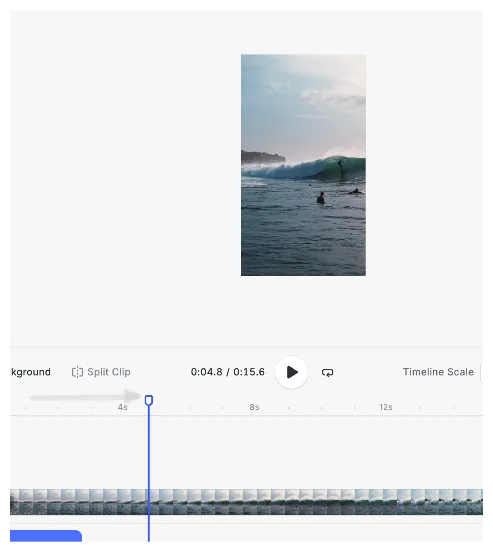
The timestamp is the current playhead time in HH:MM:SS:FF format.