Inserting a Table
Tables allow you to display your information in a more organized manner, and make it easier for your audience to read the data.
IN THIS ARTICLE
How to insert a table
Here are the steps to insert a table in your visual:
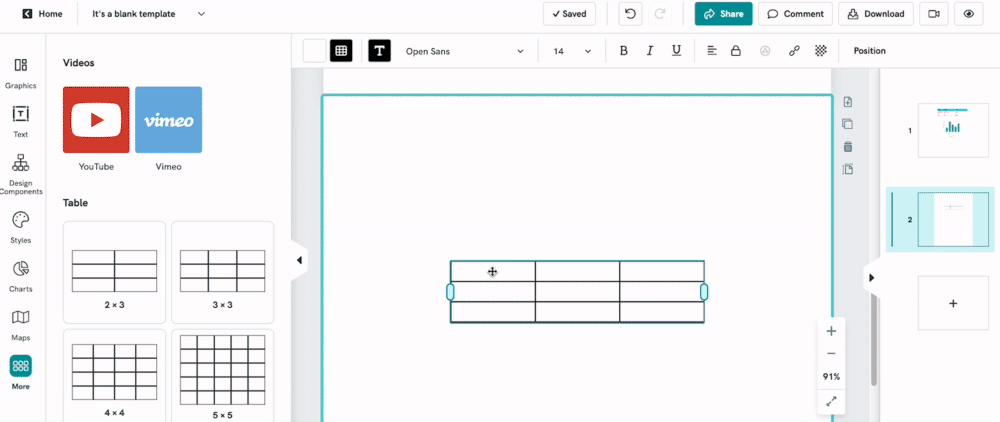
1. In your Editor, click on the More > Table option in the left menu of the editor.

2. Select the size of the table.
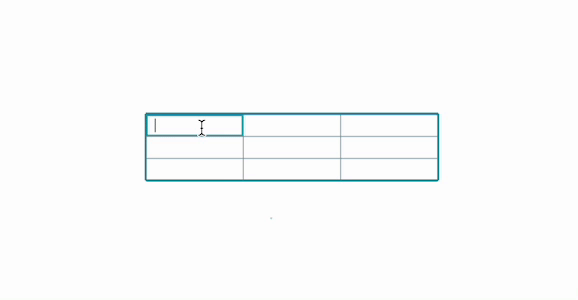
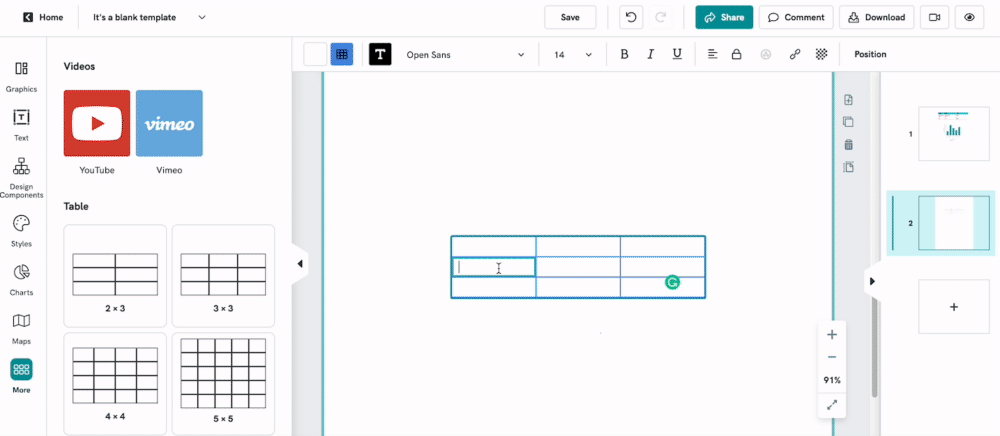
3. To edit your table, click on it to enter editing mode. You will see a green border around your table. Double-click on a cell to edit it individually. 4. Type in your data in the specific cell when the cursor appears.
How to Add and Delete Column or Row
1. Select the column or row where you want to add a new one.

- Right-click to open the drop-down options.
- Choose “Insert Column Left/Right” or “Insert Row Above/Below” depending on where you'd like the new column or row to appear.
4. You can click on "Delete Column" or "Delete Row" to delete the entire column.
How to Resize Column or Row
You can manually adjust the width of columns in your table: 1. Double-click to select and activate the column.
- Hover over the border between two columns.
- When the resize cursor (↔) appears, click and drag the border to your desired width.

3. Row height in Piktochart is responsive to the content inside each row. This means that rows will automatically adjust based on how much text or content you add.
Manual row height adjustment is not currently supported.
How to Customer Text Font and Color in Table
To customize text font and colors within the table,
- Double-click to highlight the text.
- The rich text editor panel will appear for you to customize the text font, style, and color.

You will be able to customize the font type (bold, italic, underline) as well as the font family, size, and color which will also be compatible with the color scheme!
Lastly, you'll also be able to change the alignment by either all cells or individual cells.
How to Customize Color of Table Borders
You can easily customize both the border color and cell fill color in Piktochart.
To Change the Table Border Color:
- Click on your table to select it.
- In the top menu bar, click the Border Color icon (paint bucket with border).
- Choose your desired color by selecting a color from the color palette, input HEX code or using the eyedropper tool.
To Change the Cell Fill Color:
- Double-click on the cell you wish to edit.
- Pick a color from the color palette or input your HEX code.
- If you want to change the color of multiple cells at once, simply drag your mouse over the cells to highlight them, and then select the color.
Common Questions
Can I Copy and Paste Data from Excel or Google Sheets?
Yes, absolutely! You can easily copy and paste your data from Excel or Google Sheets directly into Piktochart's data table. You can copy-paste directly from Excel (.XLS / .XLSX), Google Sheets, or CSV files.
Learn more about this here: Inserting Data into Table.
How to Do It:
- Open your Excel file or Google Sheet.
- Select the range of data you want to import.
- Press Ctrl+C (Cmd+C on Mac) to copy.
- In Piktochart, click on a table.
- Click into the first cell of the data table.
- Press Ctrl+V (Cmd+V on Mac) to paste your data.
How do I undo a step?
To reverse a change, simply click on the Undo/Redo button on the editor and any changes that have been made will be reversed. You can also use shortcut keys; CTRL + Z for windows and Command + Z for Mac.
Can Piktochart AI Generate Table from Raw Data?
At the moment, Piktochart AI does not support generating table directly from raw data (like CSV files or tables). However, we’re excited to share that with our Preserve Content feature, you can now retain charts and tables from your original document when using Piktochart AI. This means that while the AI won’t interpret or generate new charts based on raw data, it will visually preserve existing ones in the final output.
Can I merge rows or columns?
At the moment, it’s not possible to directly merge column boxes or rows on table. However, a simple workaround is to copy the content from one column and paste it into the desired location.